This guide covers installing and running an ADAMANT Messenger blockchain node from scratch on macOS, including development tools, PostgreSQL, Node.js, and auto-start configuration after reboot.
Tested on macOS 13 Ventura and newer. Node type: mainnet or testnet. Time required: ~15–30 minutes.
Running an ADAMANT node supports a fully decentralized, privacy-focused blockchain powering the ADAMANT Messenger. It strengthens the network, gives direct access to blockchain data, and enables dPoS rewards if you become a validator/delegate.
Prerequisites
You need a Mac with macOS 13 (Ventura) or newer, an administrator user account, a stable internet connection, around 50 GB of free disk space, and basic comfort with Terminal. Open Terminal by pressing Cmd + Space, typing Terminal, and pressing Enter.
Install Apple Command Line Tools
Apple’s developer tools are required to compile code and use Git:
xcode-select --installA pop-up will ask you to confirm installation. Accept it and wait until completion.
Install Homebrew
Homebrew is a package manager for macOS used to install PostgreSQL and other dependencies:
/bin/bash -c "$(curl -fsSL https://raw.githubusercontent.com/Homebrew/install/HEAD/install.sh)"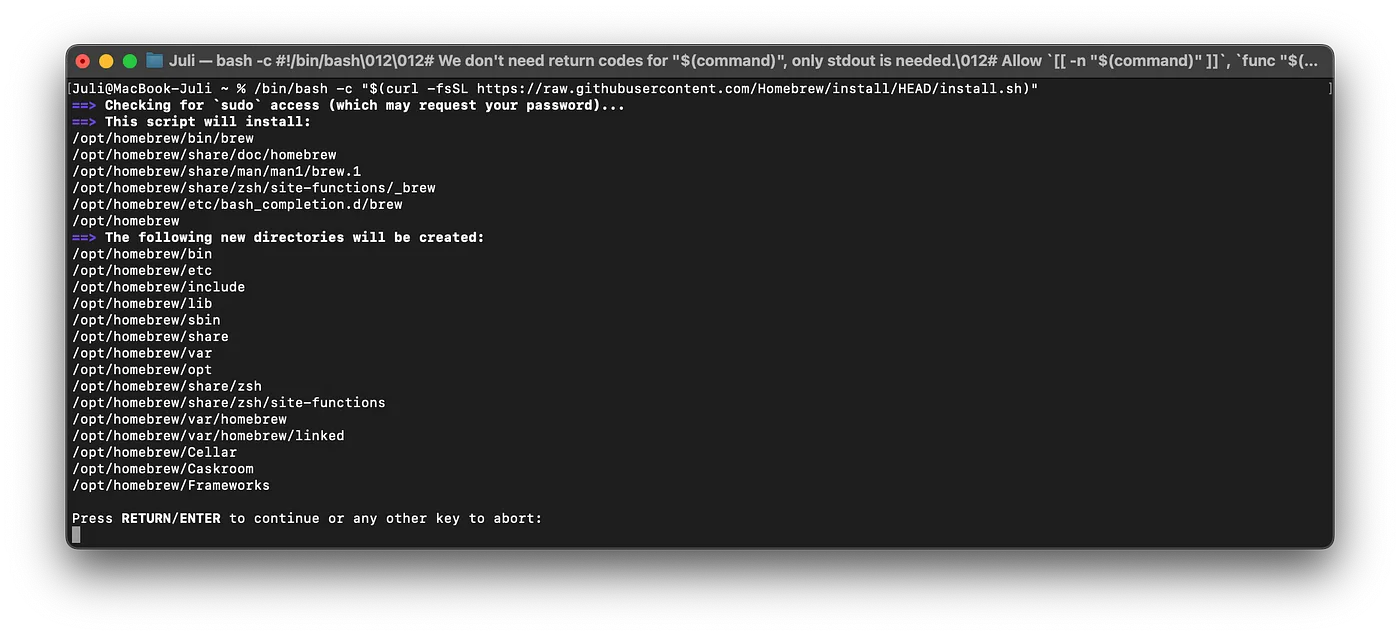
Confirm with the Enter key. After installation, follow the instructions printed in the “Next steps” section (usually adding Homebrew to your shell config like ~/.zprofile or ~/.bash_profile). Reload your shell:
source ~/.zprofile # or ~/.bash_profile depending on your shellInstall Required Packages
Install PostgreSQL, Redis, Git, and other necessary tools:
brew install postgresql redis git make automake autoconf libtool jq htopStart and enable PostgreSQL and Redis:
brew services start postgresql
brew services start redis
Set Up PostgreSQL Database
Create a PostgreSQL user and database for ADAMANT:
# Customize these as needed
DB_USER=adamant
DB_NAME=adamant_main
DB_PASSWORD=securepassword

psql postgres -c "CREATE ROLE $DB_USER LOGIN PASSWORD '$DB_PASSWORD';"
psql postgres -c "CREATE DATABASE $DB_NAME OWNER $DB_USER;"
Install NVM and Node.js
Install Node Version Manager (NVM) and Node.js 22 LTS (codename Jod):
curl -o- https://raw.githubusercontent.com/nvm-sh/nvm/v0.40.3/install.sh | bash
source ~/.nvm/nvm.sh
nvm install 22
Install pm2 (Node.js process manager):
npm install -g pm2Set up pm2 log rotation (optional but recommended):
pm2 install pm2-logrotate
pm2 set pm2-logrotate:max_size 500M
pm2 set pm2-logrotate:retain 5
pm2 set pm2-logrotate:compress true
pm2 set pm2-logrotate:rotateInterval '0 0 0 1 *'
Clone and Set Up ADAMANT Node
For an organized setup, use the ~/Applications directory (a personal folder in your home directory, not the system-wide /Applications):
mkdir -p ~/Applications
cd ~/Applications
Clone the ADAMANT repository from GitHub:
# Customize these as needed
NETWORK=mainnet   # or testnet
BRANCH=master     # or desired Git branch

git clone https://github.com/Adamant-im/adamant --branch $BRANCH
cd adamant
npm install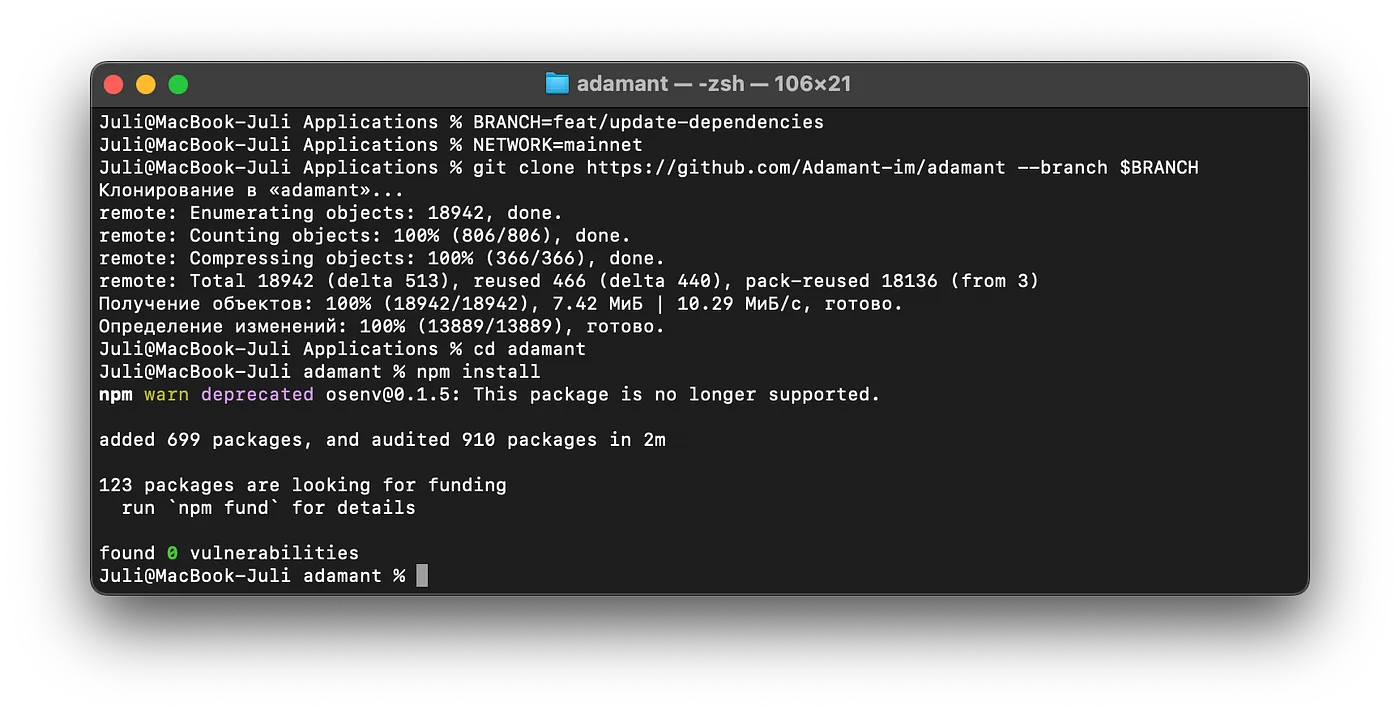
Set the ADM node config file:
cp config.default.json config.json
sed -i '' "s/\"password\": \"password\"/\"password\": \"$DB_PASSWORD\"/" config.json
This copies the default config into your own and enters the DB password you set earlier. You can also edit the config manually with nano config.json.
For a testnet node, use these commands instead:
cp test/config.default.json test/config.json
sed -i '' "s/\"password\": \"password\"/\"password\": \"$DB_PASSWORD\"/" test/config.json
Download Blockchain Snapshot (Optional, Mainnet Only)
If you want to support full decentralization, skip this step. Otherwise, downloading a snapshot speeds up blockchain syncing significantly:
curl -O https://explorer.adamant.im/db_backup.sql.gz
gunzip db_backup.sql.gz
psql $DB_NAME < db_backup.sql
rm db_backup.sql
This can take up to 20 minutes but saves roughly a week of sync time.
Running the ADM Node
First, run the node temporarily in Terminal to verify everything works:
node app.jsIf successful, you’ll see startup output and the blockchain syncing with node height increasing:
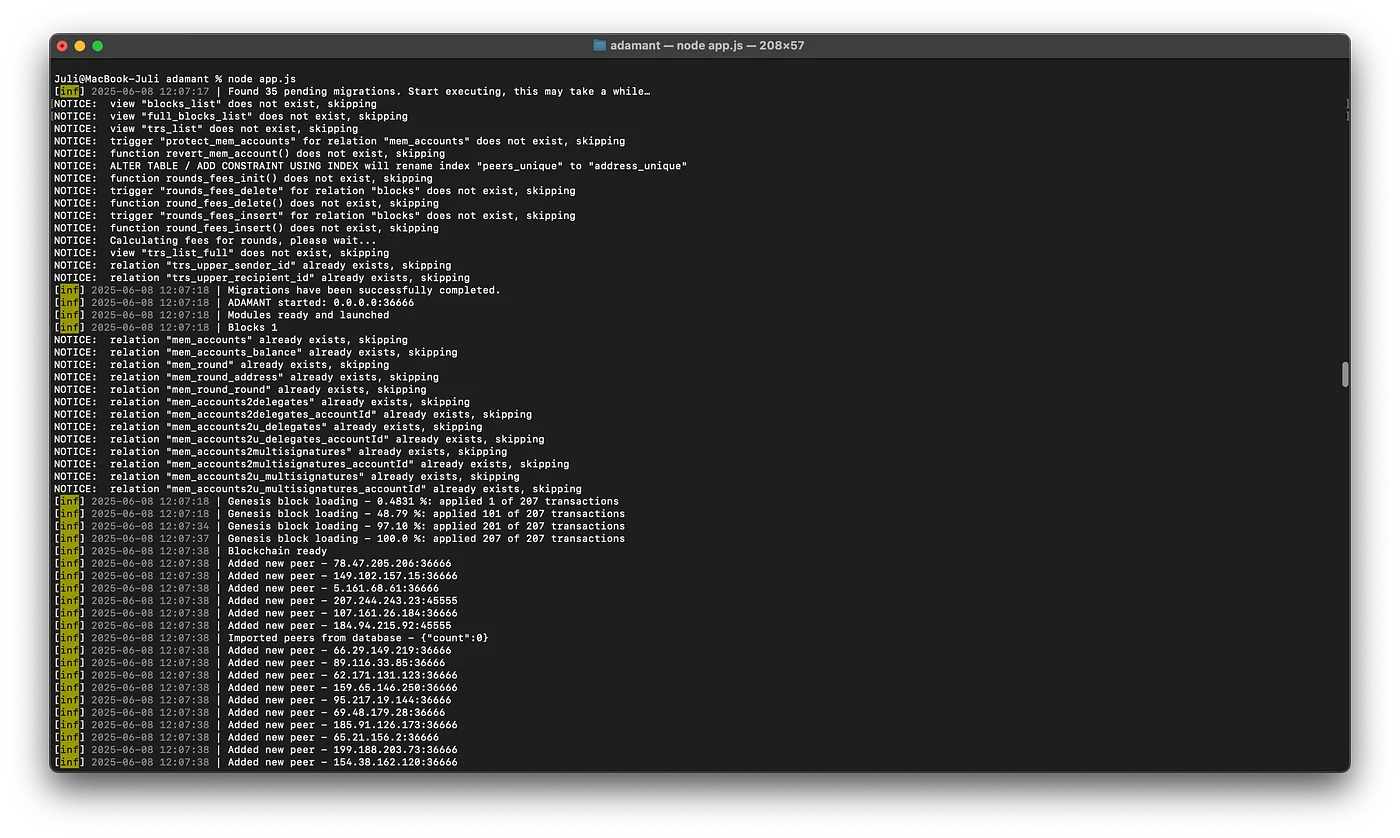
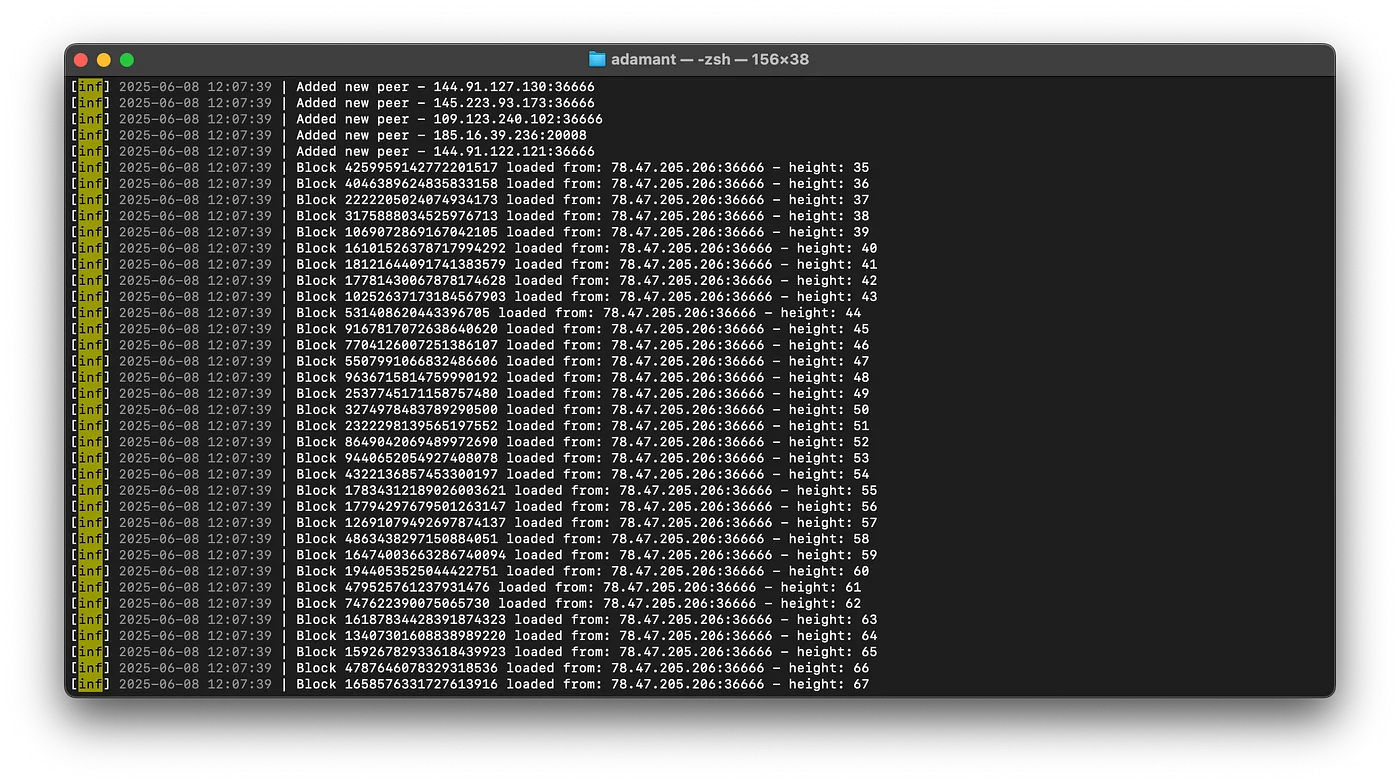
Stop the node with Ctrl + C, then start it with pm2 so it persists after closing Terminal:
# Mainnet
pm2 start --name adamant app.js

# Or, for testnet
# pm2 start --name adamanttest app.js -- --config test/config.json --genesis test/genesisBlock.json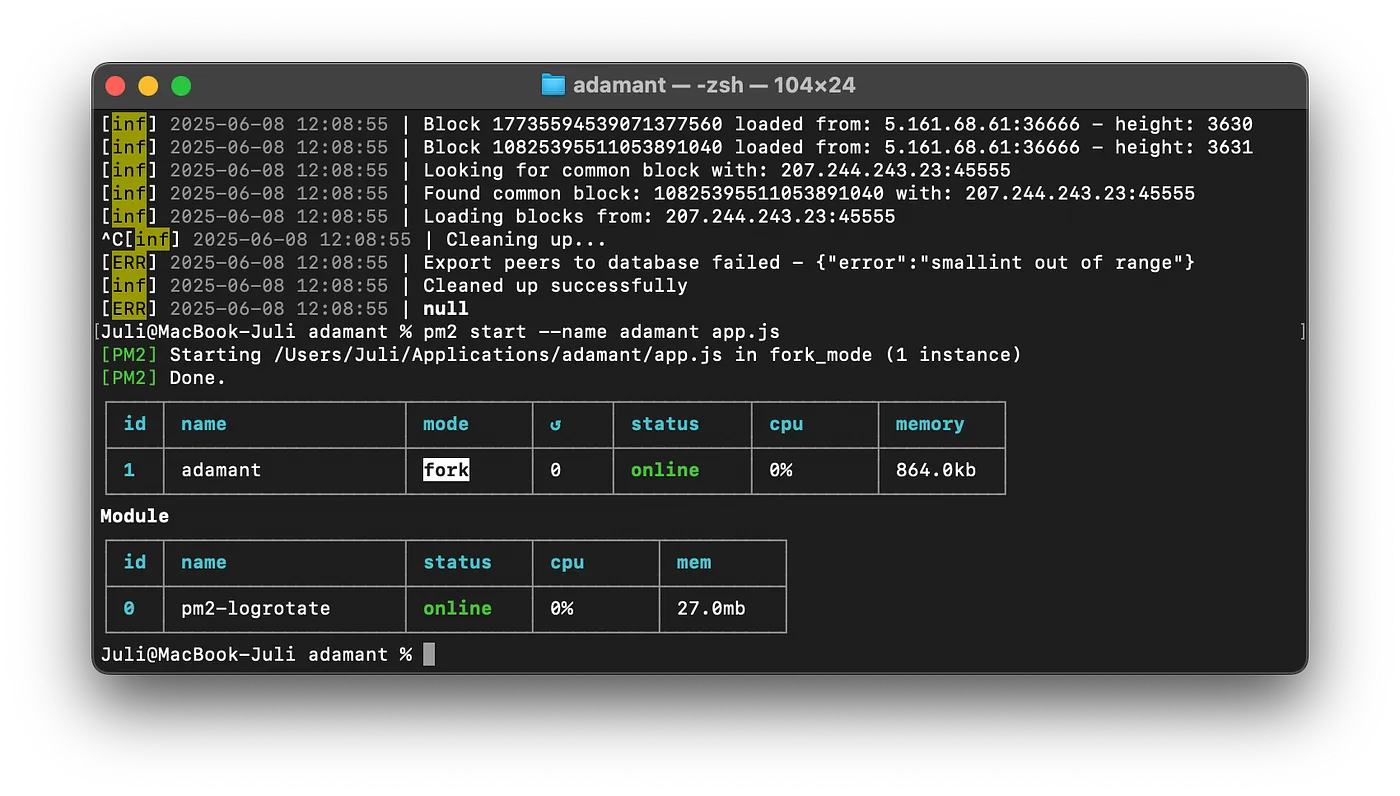
Save the pm2 process list:
pm2 saveVerify it’s running:
pm2 logs adamant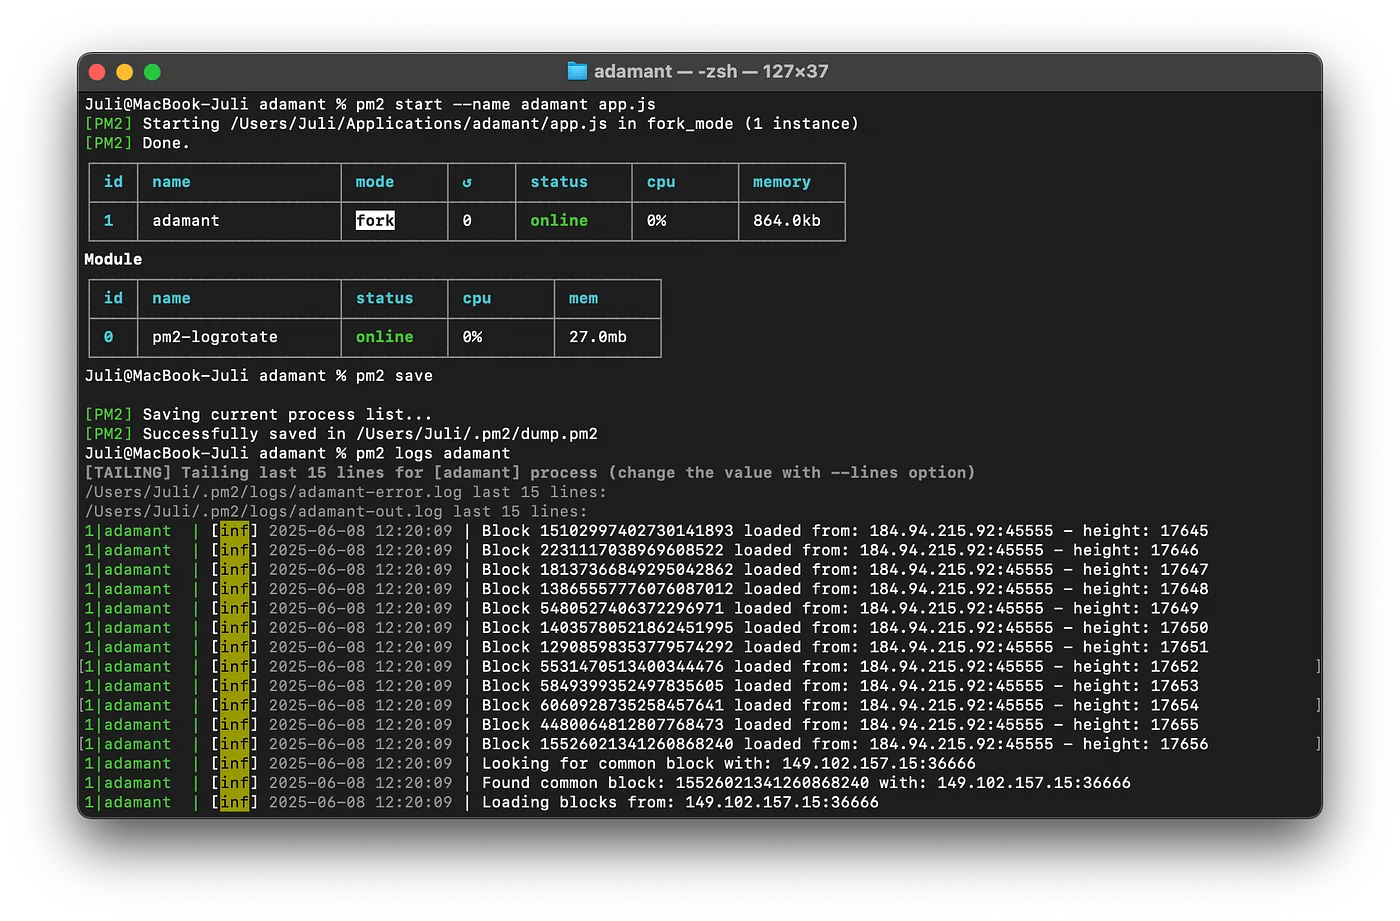
Restart Node After macOS Reboot
To automatically restart the ADAMANT node after a Mac reboot, you have two options.
Option 1: Manual start after reboot. Each time your Mac restarts, run:
source ~/.nvm/nvm.sh
pm2 resurrect
You can automate this by adding the lines to your shell profile (e.g., ~/.zprofile):
echo 'source ~/.nvm/nvm.sh && pm2 resurrect' >> ~/.zprofileOption 2: Automatic startup with pm2 startup. The pm2 startup command may not work seamlessly with macOS System Integrity Protection (SIP). Instead, create a launchd service:
pm2 startup launchdThis outputs a command like sudo env PATH=$PATH:/Users/youruser/.nvm/versions/node/vXX.X.X/bin pm2 startup launchd -u youruser — hp /Users/youruser. Run it in Terminal, then save the pm2 process list:
pm2 savepm2 will now restart your ADAMANT node automatically on boot. To cancel this later, run pm2 unstartup launchd.
Verify Installation
Check process status:
pm2 show adamantCheck node block height:
curl http://localhost:36666/api/blocks/getHeightGet node status:
curl http://localhost:36666/api/node/statusA response with "syncing":true means the node is not yet fully synced. Wait for full blockchain synchronization to complete. Using a blockchain snapshot makes this significantly faster.
For further reference, see the ADAMANT node documentation.